


Today on the blog, keen tramper Ruth shares her experience activating a distress beacon, and tips for how to use yours.
By Ruth McKie, DOC Digital Channels Analyst
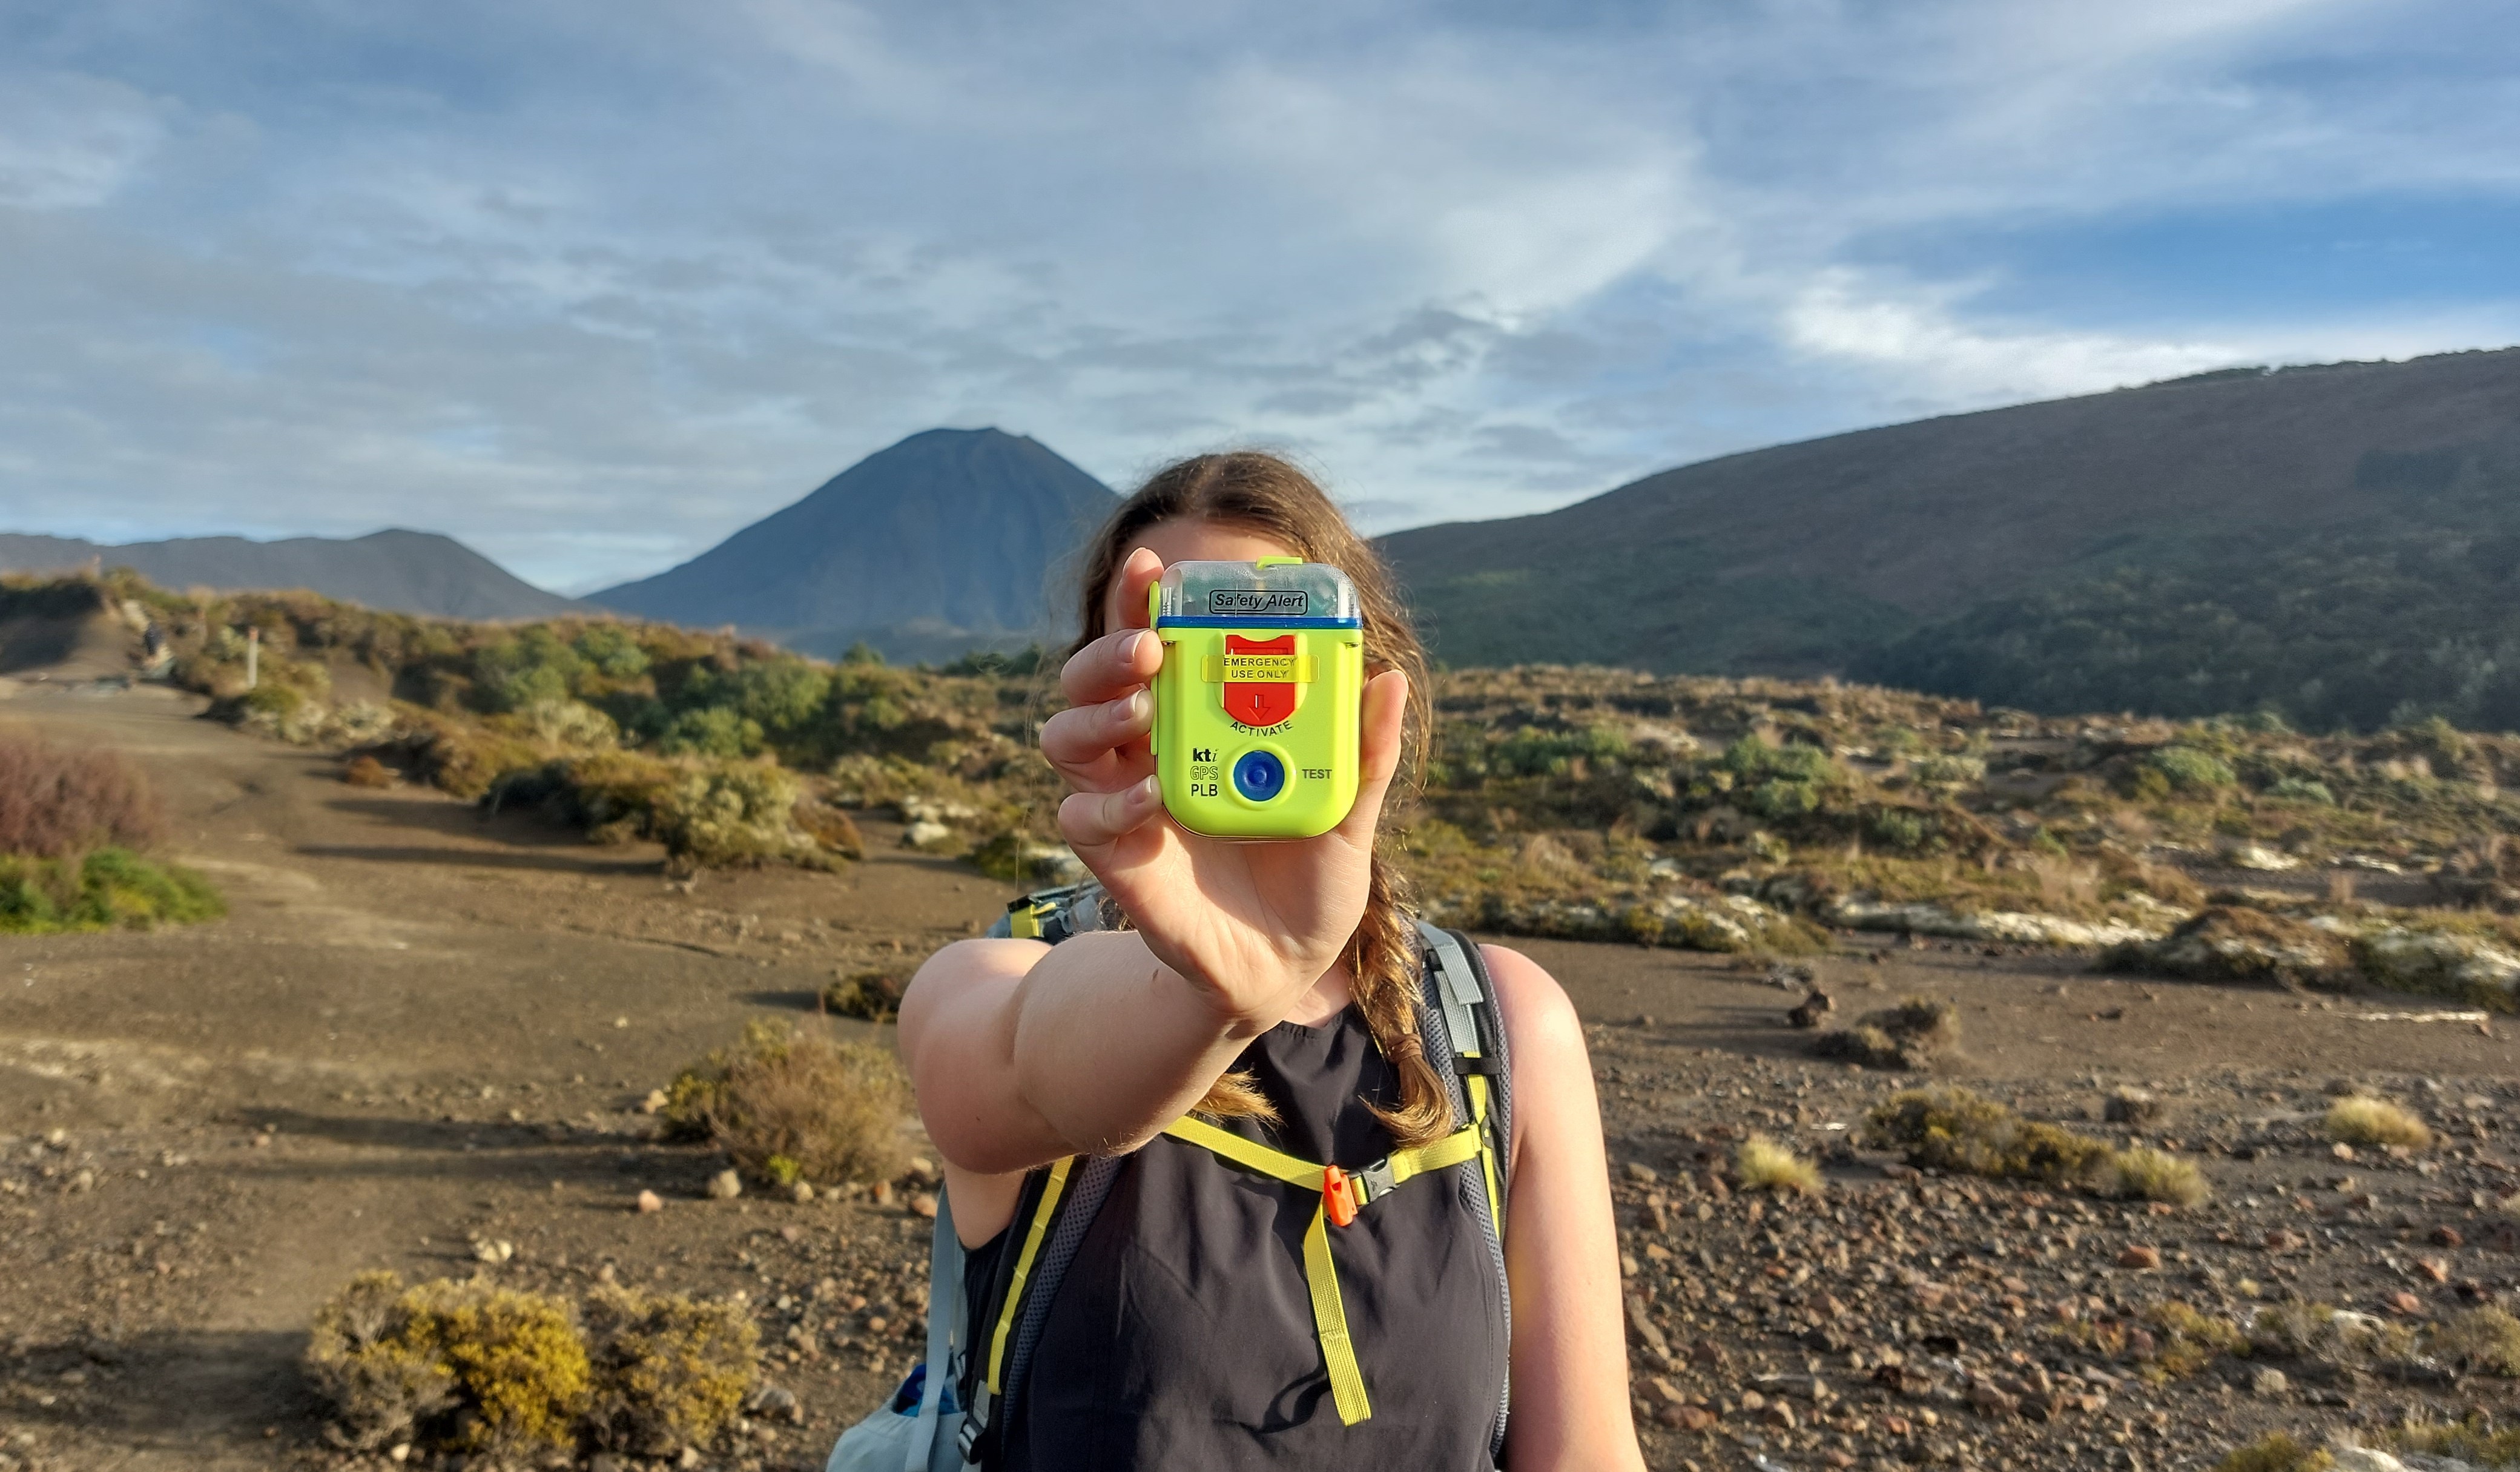
Me holding my beacon.
📷: Lucy Holyoake
Tramping is one of my favourite things. Nothing beats the thrill of an empty weekend, great forecast and a map full of possibilities.
I’ve done lots of tramping over the years to a range of places – Great Walks, day trips, remote backcountry huts through to off-track bush bashing and peak bagging. But until recently, I’ve never needed to activate a distress beacon, although I always make sure there’s at least one in the group.
I’m very aware, and I hope you as a reader are too, of how incredibly valuable distress beacons are – they’re lifesavers. I’m sure you’ve read news stories of searches going for days because they didn’t have a beacon or stories where it was a successful rescue because the beacon made things fast and easy.
A quick Google of distress beacons will bring up many trusted web pages (e.g. Rescue Coordination Centre, Department of Conservation, Mountain Safety Council) that talk through all the details of what a beacon is, how they work and why they’re important.
I’ve read lots of stories about people activating their beacon but often it’s light on detail, just ‘we activated our beacon and the helicopter came’. Which left me with lots of unanswered questions, like how, what, why, when!?
I figured I can’t be the only one, so I’ve talked to experts and gathered the research. Here is my personal beacon story, as well as some key FAQ’s.
When I had to activate a beacon on a Great Walk
It was a calm bluebird morning; the last day of an amazing trip, and I was in my own world soaking in the waterfall views, waiting for the sun to hit it to get a nice photo.

Sun hitting the waterfall creating a rainbow.
📷: Ruth McKie
I noticed a bit of activity going on off to the side of the track and my friends told me that there was someone who’d hurt themselves and someone was going to be activating their distress beacon. It was a busy Great Walk, and there were lots of trampers around (a fact which turned out to be both fortunate, and unfortunate).
I went over too in case I could help. A lady had badly hurt her leg.
Her partner had tried to bandage it up with a makeshift splint, but she was struggling to walk and the road end was still about 2 hours away.
She did not have a beacon, but someone else had offered to activate theirs for her. The different groups of trampers wanting to help had been discussing what to do. They’d decided that the best thing was to send someone down the track to a flat area on the map where a helicopter could land, and activate the beacon there.
The plan was the lady’s partner would slowly carry her down the track and someone else would carry their two packs down to where the beacon was being activated. This way the helicopter could land in a flat spot and the rescue team could bring a stretcher up the track to meet the lady. I offered to take one of the packs and headed off to the flat spot as planned.
What we didn’t realise until later, was that the flat spot was about a 45min walk from where the woman was injured. It was too painful and not practical for her to be carried that far. So, when the helicopter landed at the flat spot only to realise the injured person wasn’t there, but miles down the track, they had to take off again, and find the lady based on verbal descriptions of her location and then winch her off the track.
Long story short: after some confusion, the lady was safely rescued, her partner was reunited with their packs, and he walked out to the road to take the shuttle to go meet her at the hospital.
What I learned from this experience
While this story had a happy rescue ending, it was an important learning experience. On reflection, once the adrenaline rush faded, I realised the pack, patient, and the beacon all need to stay together.

Me enjoying the lake reflections on a tramp.
📷: Lo Hughes
In a crisis, when lots of people are trying to be helpful, all with different ideas, it can be easy to lose sight of this important factor. The patient needs their pack – they might need warm clothes, food or shelter if help can’t arrive quickly.
And the beacon needs to show the rescue team exactly where the injured person is – yes if you are near a clearing/flatter spot, then setting it off nearby could be better, but only if you’re sure it’s not too far away. It needs to stay as close as possible to the injured person, and then leave it to the rescue team to decide on the best way to get to you, as they have the tools and knowledge on how to do that safely.
Getting familiar with my own distress beacon
After this experience on my Great Walk trip, when I was packing my beacon for my next trip, I thought: wait do I still know how to activate this if it was to happen to me? It’s been so long since I got it, that I hadn’t taken it out of its protective bag and actually looked at it in ages.

Some of my gear laid out while packing for a trip.
📷: Ruth McKie
I took it out and had a good look, remembering how the antenna unfolds and where the ‘go button’ is, and reassured myself that it would be very hard to accidentally set the button going. It was then that I noticed the test button.
Test your beacon
I realised I hadn’t tested the beacon since I got it! I looked up the instructions for my model to see what the recommended testing frequency is, and mine said once a year and no more than once a month. The less the better as it significantly drains the battery. I decided now was a good time to test it and I’ve put a calendar reminder in my phone to test it in one year’s time.
A video of me testing my beacon as per the instructions for my model.
📹: Luke Sutton
I learned a lot from this experience. It also made me go home and dive deeper into my many beacon questions. Here are the answers for ones that I was able to research or consult with experts on.
Now for the FAQs!
FAQs:
- Do I need a beacon?
- When should I activate my beacon?
- How do I activate my beacon?
- What to do while waiting for help to arrive?
- What do I do after my trip?
- Where/how should I carry my beacon?
- What is the difference between an inReach, SPOT or PLB?
FAQ 1: Do I need a beacon?
Yes. Bring a beacon on every trip you do, no matter the difficulty level. You can never predict when you’ll need a beacon – they have a habit of being the most useful when you least expect it. So don’t tempt fate and treat it like packing food on your trip – both equally important to bring.
There are retailers online or check this website for places you can hire or buy a beacon from. Make sure you register it with the Rescue Coordination Centre New Zealand – this is a legal requirement and means they have your details and emergency contacts, so they can better direct help to you if you need it.

Tongariro National Park Visitor Centre with their beacons for hire sign out front.
📷: Ruth McKie
Remember this is a lifesaving piece of equipment and is 100% worth putting those extra dollars in. I’d argue it’s way more worthwhile than buying that new ultralight sleeping bag you’ve been window shopping…
FAQ 2: When should I activate my beacon?
Kiwis are famous for their ‘she’ll be right’ attitude, but this is a dangerous attitude when in the backcountry.
If someone is hurt, don’t wait.
You should be activating your beacon when it has been determined that your group is in an emergency situation.
Sometimes people may want to wait and see if the person improves. But all advice from rescue teams is don’t wait. If you wait, the conditions for the rescue team to get to you could worsen e.g. the weather changes or nightfall comes. The patient could have complications, there could be injuries you can’t see e.g. internal bleeding, a head injury.
If you have any doubt, activate your beacon and let the rescue professionals decide how and when to respond.

Enjoying the sunshine breaking through the cloudy, wet, cold day in the hills – tramping isn’t always sunshine and rainbows.
📷: Luke Sutton
Something to remember, which I learnt from the Aoraki/Mount Cook Alpine Rescue Team, is when your beacon goes off and the alert is received at the Rescue Coordination Centre. From their perspective, each call is the same level of urgency, and they use the network of agencies available to solve the problem as soon as possible.
What this means for you, is that whether it’s day, night, good or bad weather they will look for a way to send help. That might be a helicopter, but if the weather is bad e.g. stormy, cloudy, windy, or the helicopter doesn’t have the ability to fly at night, it might be a team walking in. It could be a half an hour wait for help or it might take them 12+ hours to walk in.
This is why it’s important to bring emergency food and a shelter/bivvy bag on trips so if you do need to spend an extra night out, you can do so safely.

The sunrise from my tent which I always pack on trips in case I need emergency shelter.
📷: Ruth McKie
FAQ 3: How do I activate my beacon?
When possible, position your beacon in a clear and open area. Point the aerial vertically towards the sky, ideally away from trees, buildings, and mountains. If you are within a ravine or gully, position it at the highest point.
Once activated, keep your beacon turned on and in one place. The more you move around, the harder it is for rescuers to find you. Movement is ok if it improves your situation (moving to a safer or warmer spot) but otherwise stay put.
Video showing visually how to activate your beacon.
📹: Ruth McKie
Often when tramping in bigger groups, you might have several beacons among the group. The decision must be made on who’s beacon will get activated. But a key thing I learned researching is it’s important that you only activate one. Sometimes people think if they activate a few beacons, it might make it easier to find them. But according to the Aoraki/Mount Cook Alpine Rescue Team, this isn’t the case.
When a beacon goes off, it might locate you within a 1 km radius of where you actually are. If two beacons are going off in the same spot, for the Rescue Coordination Centre, it could initially look like two groups in trouble up to 1-2 km apart which could require two rescue teams. However, as the satellite orbits over you every 15 mins, each pass hones the location giving more refined location details over time. This is also why it’s important to not move your beacon when it’s activated too.
Having multiple beacons activated just causes confusion and could double the number of resources sent than what is required. It could also slow the rescuers down in getting to you as more coordination is needed.
FAQ 4: What do I do while waiting for help to arrive?
There are five main things you need to do.
1. Tend to the injured person
Make sure the injured person is warm. They ideally should have an insulated mat or tramping pack underneath them to prevent them from getting cold. You might also need to put an emergency blanket over them or a windproof layer. If they’re responsive, then water, food and pain killers might be appropriate. You might need to stop bleeding or try cleaning a wound – be careful though, only try this if you’re confident you aren’t going to cause further complications.
Use common sense – if they’re cold get them warm, if they’re bleeding try to stop it. Be practical. You might need to move them to a better location to take shelter such as a suitable place to set up your tent. Moving is okay only if it won’t cause further injury and the new spot is warmer, dryer, safer. Just take your beacon with you and keep it on.
2. Check on yourself and the group
Just like on the airplane safety videos, you need to put your own mask on before helping others so make sure you are warm and hydrated before helping everyone else.
An important thing I observed, is you don’t know how the experience could affect you or your group mentally. It’s not an easy thing watching someone you care about getting hurt and taken away, especially once the adrenaline fades away.
Simple things might be harder to do, and a distracted mind could lead to others in the group getting hurt or getting lost. Help each other and be considerate of those that were shaken by the incident.

Taking a group break to check on each other, layer up in the cold wind and adjust my boots.
📷: Luke Sutton
3. Sort out gear
Once you’ve done what you can to make sure the group and injured person is ok, the next task is to sort your gear/packs. Most of the time (except for exceptional circumstances) the helicopter will only take the injured person and their pack with them. The rest of the party will need to walk out when safe to do so (you might even have to wait/camp overnight till it’s safe to continue walking).
So, make sure any essential gear the injured person is carrying (e.g. car keys, gas, cooker, tent, map, GPS) stays with the remaining group.

Some of the important gear I always pack on a trip.
📷: Ruth McKie
4. Record details and important information
If it’s someone you don’t know, swap contact details in case you need to get in touch later.
Write down details of the accident for the rescue team, including phone numbers of family/friends, any allergies, medication they’re on or have taken that day. Your location, weather, any observations with the patient’s condition.
5. Make yourselves visible
Make yourself as easy to find as possible – the terrain and bush can make it tricky. Put bright coloured clothing or pack liners in the clearing/ riverbed/ ridgeline/ flat area for rescuers to spot you easier.
Keep an ear out for the helicopter. You can shake trees to help them see you, and if it’s nighttime, turn your torches on. Even your cell phone light can be helpful. Remember if the weather is bad, it might not be a helicopter coming for you but a team on foot so keep a close look out.

My super bright red jacket that is very useful for staying visible in the outdoors.
📷: Lottie Cordery
6. Prepare for the helicopter arrival
Once you’ve been spotted, secure any loose items including clothing that could be swept away with the downdraft. If the helicopter is landing, keep down, and only approach when the pilot tells you it’s safe to do so. Keep clear of the rotor blades and always stay at the front of the helicopter away from the tail. If they decide to use a winch – they will tell you what to do.
Once help arrives, it’s important you ask the responding rescuers to turn your beacon off, so you don’t cause further confusion! Don’t turn the beacon off as soon as you see the helicopter – if they can’t land, they might need to return later. Always wait till you are attended to on the scene and ask if it’s ok to turn it off first. The batteries will last a minimum of 24 hours when activated (depending on your model).
Hopefully, you’re at the point which every distress beacon news story sums up with “and then the helicopter arrived and took the person away safely where they recovered quickly with medical attention.”

Helicopter flying over the forest.
📷: Ruth McKie
FAQ 5: What do I do after the trip?
Contact your emergency contacts and check your beacon battery.
If your beacon was used, your emergency contacts registered with the beacon would have been alerted, so call them and let them know you’re ok.
An important thing to consider, if you didn’t leave your trip intentions with the people registered as emergency contacts with your beacon, that will not be helpful if the Rescue Coordination Centre call them looking for information. So, keep that in mind in future trip planning too. A useful tool is the Plan My Walk app which has a function to easily share your plans, route, trip notes, party members and gear packed in one email to specified contacts.
The final job is checking your beacon. Follow your manufactures instructions to ensure it has battery for another activation if needed on future adventures. Some beacons might be one-time use so be sure to double-check yours.
FAQ 6: Where/how should I carry my beacon?
This is a tricky one as everyone has their own opinion on this – some say the top lid of your pack in easy reach, others say in your clothing or attached to you someway. Others say attached to your pack straps.
The official word on the web from www.beacons.org.nz is your Personal Locator Beacon (PLB) should be physically carried on your person rather than in your pack in case you are separated from it.
Beacons are only good if a) the button works but also b) they are accessible in an emergency.
It’s a real possibility that in an emergency, you are separated from your pack e.g. it’s ripped off you when falling, being swept down a river, rolls off a cliff during lunch. Even tramping in a group, you could still get lost and get into trouble so having your beacon on you and accessible is quite important. If you are tramping solo then it’s even more important in case you can’t access your pack when you are injured.
There are many ‘what if’ situations – remember the definition of accident is something happening unexpectedly so prepare for the unexpected the best you can by wearing it on you not your pack.


Pictured here are a few ways you could carry your beacon:
Example 1: Carrying it in a small bag around your waist e.g. bum bag or running belt. You can wear this above your pack hip belt. 📷: Lucy Holyoake
Example 2 & 3: Wearing it on an adjustable belt around your waist – could be attached to your clothing with your belt loops, or higher above your pack waist belt as in example 3. 📷: Lucy Holyoake & Hannah Hudson
No matter how you choose to carry it, just don’t squish it. Some models, particularly the cheaper ones, have a design where if the beacon gets squished e.g. in a pack, the pressure pushes on the button causing a false callout. This sucks up resources that could be saving people’s lives.
Remember that your beacon is a delicate and extremely valuable piece of equipment and it’s important to treat it well.
FAQ 7: What is the difference between an inReach, SPOT or PLB?
Something I learnt talking to the Aoraki/Mount Cook Alpine Rescue Team is there is a big difference between an inReach, SPOT and distress beacon.
They recommend if you do own one of these devices or looking to buy one, do your research to understand the differences as it could impact on your safety and ability to get rescued. You can read more about these important differences on the DOC website here.

Looking closely at my distress beacon.
📷: Lucy Holyoake
In summary
Distress beacons are probably things we stuff into our packs without a thought, or maybe you don’t have one but rely on friends who do. We don’t think about them until we really need them – when they become lifesavers.
I’ve learnt a lot writing this blog and I hope you’ve found it useful too!
Have you got any tips or experiences activating your own distress beacon? I would love to know in the comments below so we can all learn from each other!
Stay safe out there in the hills and happy tramping!

Enjoying my favourite type of tramping – friendly alpine tops.
📷: Luke Sutton


Very well explained P.L.B article. Great shared info too. A group leader carrying a P.L.B should explain how to activate it before actually tramping, as during an emergency its operation can be confusing and frightening in unexpected circumstances. Diana.
With that many people and only a splinted lower leg injury I am rather surprised they could not organise to carry her out to the road end – but we do not know – maybe the terrain was too difficult for this and given the favourable weather and for her comfort it looks like the helicopter could have been a good option here. But surely the first thing would be to look at options using the resources of the group. Always learning opportunities in any unexpected situation so thanks for all the tips.
That’s a great article and I’m grateful for the effort gone into preparing it.
I’m continually alarmed at how unprepared our tramping club members are, especially on day walks where they arrive without even a jersey, waterproof jacket or reliable torch. It only takes a nasty mishap to turn a day trip into an overnight multi challenge.
I always carry enough clothes to survive overnight and the PLB is strapped to me.
Great article. I read this prior to tackling HumpRidge track over Easter. I ended up activating my PLB on day two for a tramper who had broken their fibula and possibly their tibia. The info in the article came in handy. Patient, pack and PLB stayed together. Southern Lakes SAR helicopter arrived after 90 minutes. After 5-10 minutes of circling the bush clad ridge we on they spotted us. Paramedic safely winched them out. Glad we had 4 hours light, light winds and sunshine. Nearest hut was 2 hours walk. Good result for an unfortunate accident.
Only two hours from the road end with lots of people about, unless the persons leg was smashed to bits it doesn’t seem unreasonable for this person to sort themselves out. To me a PLB is about saving a life, not about saving an uncomfortable walk out.
Her leg was in a splint – possibly fractured – the helicopter was the correct decision.
Great article and well written. Also wearing bright coloured clothing is really helpful when tramping on your own. Unfortunately lots of solo trampers wear black or dark clothing as it doesn’t show up the dirt. But when you tumble down the hill you don’t look any different from a rock and make it more difficult for SAR to find you.
Great article. I rescued myself when presumed dead. It was pre PLB’s & a lot of small things snowballed into a major. I hopped, crawled & dragged myself down from the snow line as an Antarctic Weather Bom came in. I had a goal to reach the rail line which I achieved. There was a Shearer’s quarters that had a phone & I called the Policeman in charge of my body search by luck. We worked out where I was & effected a rescue. I started at “The Staircase Viaduct & made it to The Avoca Homestead Hut badly injured after a fall. I was on one leg carrying a pack & rifle & had Hypothermia on the third day out in the elements. I made my own luck & survived with grit & determination. Mark Fogerty
Great article – thanks
Useful article indeed.
Congratulation on a wonderful piece of writing containing great advice.
Great article. As a retired flight critical care paramedic who has responded to many beacons, keeping the patient and beacon together is critical. I also carry mine when travelling on remote roads with no cell coverage. I would have no hesitation to activate it if I came across and accident and could not call for help.
Thanks for sharing your experience. I have never tramped as an adult. Me and my husband want to. Start small. What gear is recommended for day trip and over night. We are Horowhenua so Tararua rangers would be a great start. Looking at January 2023.
Thank you for sharing this info.
Hi, Great article on PLBs. I’ve found getting replacement batteries fitted hugely expensive. I think govt should be subsidising this as both patients and Police SAR benefit from quick rescues that are less costly.
A fantastic overview and extremely detailed article on beacons thank you for first hand experience.
Thanks for a very well written article
Great article thank you. Good reminder to check my PLB annually 😀